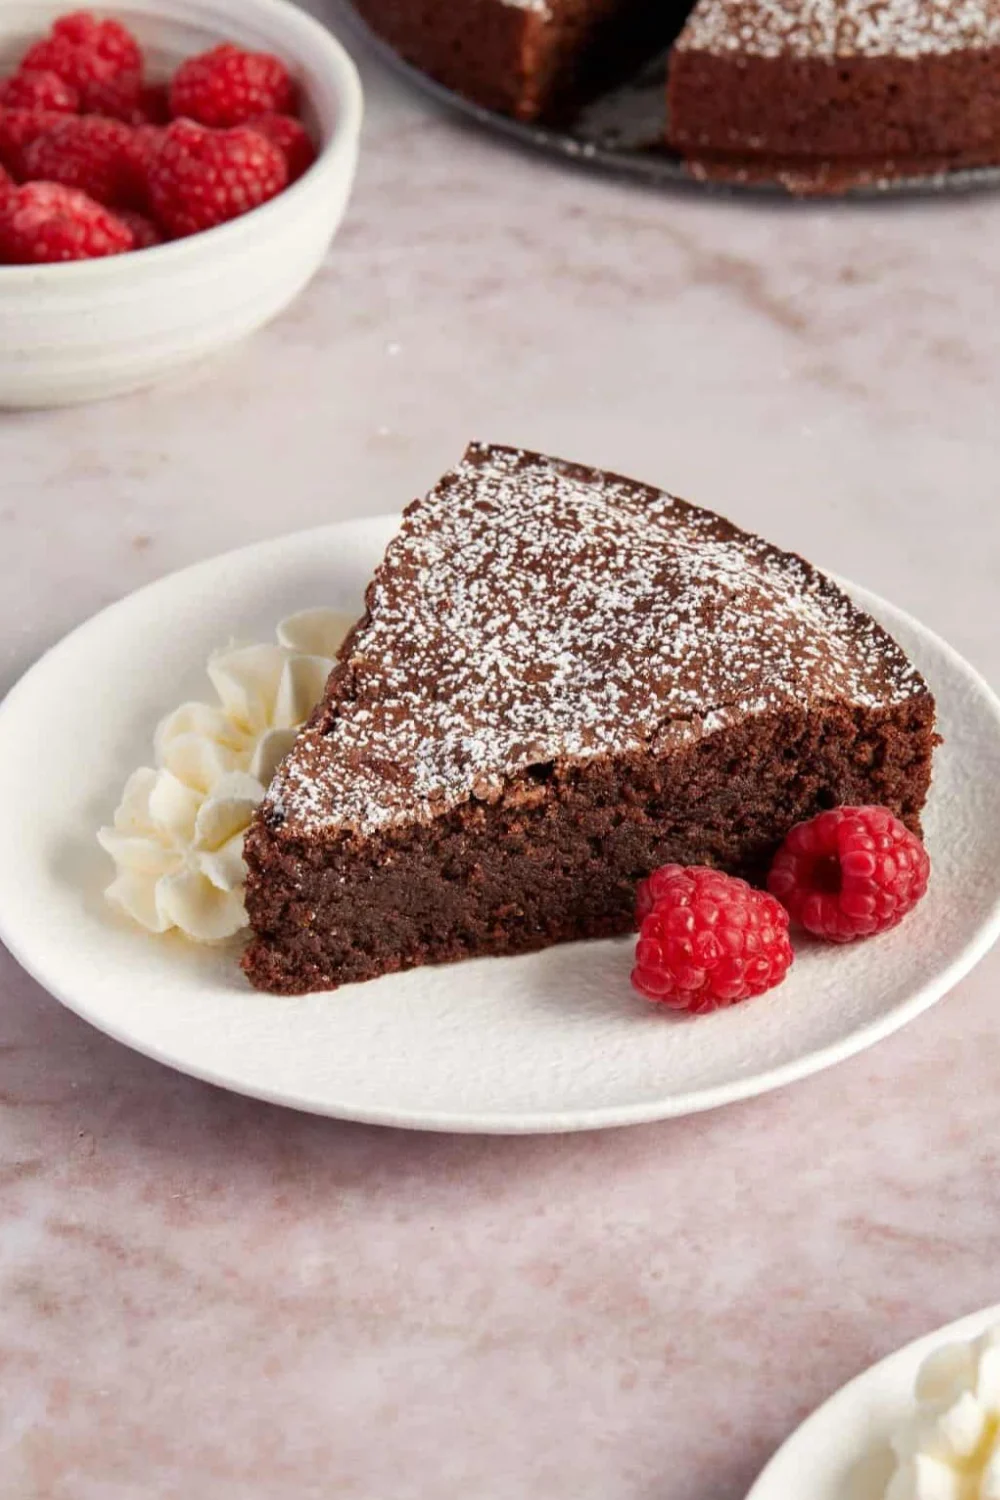
Flourless Chocolate Cake
There’s something incredibly special about a dessert that feels luxurious, looks elegant, and yet comes together with such simplicity and this Flourless Chocolate Cake is exactly that.
Whenever I think of desserts that truly impress without requiring hours in the kitchen, this is the one I come back to again and again. It’s rich, deeply chocolatey, and has that soft, melt in your mouth texture that sits somewhere between a fudgy brownie and a silky chocolate truffle. The kind of dessert that makes people pause after the first bite and go, “Wow… you made this?”
And honestly, that’s my favourite part.
Whether I’m baking for a quiet evening at home, a small celebration, or even something a little romantic like a special dinner, this cake never feels out of place. It’s simple, it’s indulgent, and it always delivers.
Why This Cake Truly Stands Out
I’ve baked a lot of chocolate cakes over time, but there’s something about this flourless version that just hits differently. It’s not just about being gluten free it’s about the texture, the intensity, and the overall experience.
Here’s why I keep coming back to it:
It’s naturally gluten free without any compromises:No special flours, no tricky substitutions just real, simple ingredients doing their job perfectly.
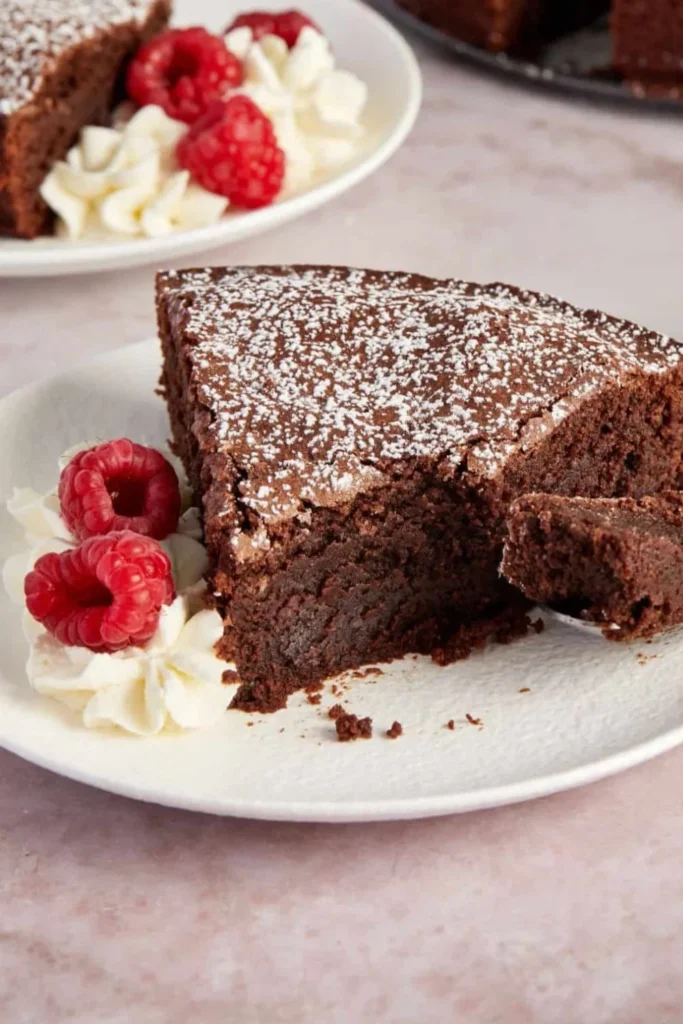
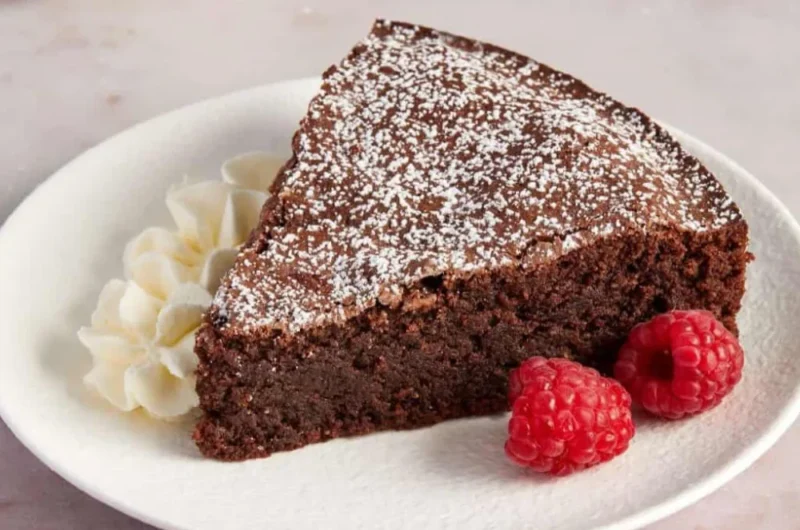
The texture is irresistibly fudgy:This isn’t a light, airy cake. It’s dense, rich, and almost creamy in the center when baked just right.
Chocolate is the true star:With no flour to dilute the flavor, every bite is deeply chocolate forward.
It feels elegant without being complicated:This is the kind of dessert you can serve at a dinner table with confidence it looks beautiful and tastes even better.
Ingredients (Simple but Powerful)
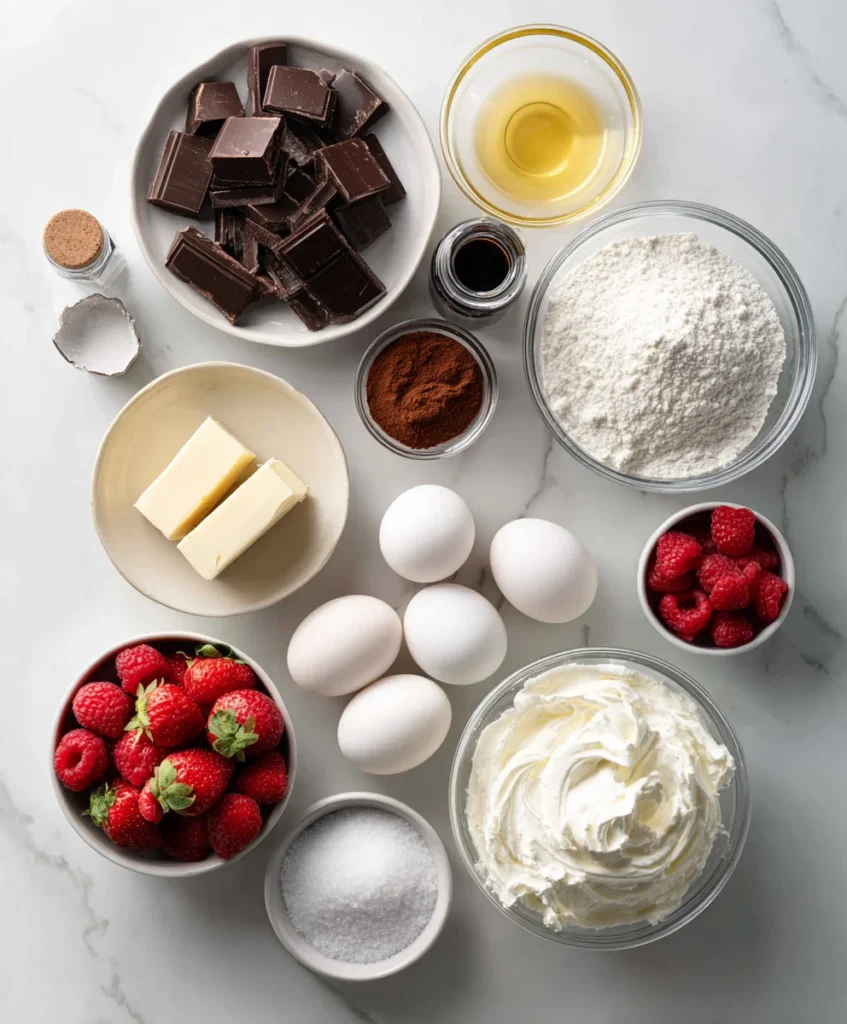
One of the things I love most about this recipe is how short and simple the ingredient list is but each ingredient really matters here.
Ingredients
- 200g dark chocolate (use the best quality you can find)
- 1/2 cup (115g) unsalted butter
- 3/4 cup (150g) granulated sugar
- 3 large eggs (room temperature)
- 1 teaspoon vanilla extract
- 1/4 cup (25g) unsweetened cocoa powder
- 1/4 teaspoon salt
Optional (but highly recommended for serving):
- Powdered sugar
- Fresh berries (strawberries or raspberries work beautifully)
- Whipped cream
Let’s Talk About the Chocolate (It Matters More Than You Think)
Since this is a flourless cake, chocolate isn’t just an ingredient it’s the foundation of the entire recipe.I always recommend using a good quality dark chocolate with around 60 to 70% cocoa. It gives you that perfect balance of richness and slight bitterness, which keeps the cake from becoming overly sweet.
If you go for lower quality chocolate, you’ll still get a cake but you won’t get that deep, luxurious flavor that makes this dessert unforgettable.
Step by Step: How I Make It
This is one of those recipes where the process is simple, but a few small details make a big difference. Here’s exactly how I do it:
1. Prepare Your Pan
I start by preheating the oven to 180°C (350°F).Then I line an 8 inch round cake pan with parchment paper and lightly grease it. This step is important because the cake is delicate and can stick easily.
2. Melt the Chocolate and Butter
In a heatproof bowl, I melt the dark chocolate and butter together.
You can do this:
- Over a double boiler (my preferred method for control), or
- In the microwave in short 20 to 30 second bursts
I stir until everything is smooth and glossy. This is when you know you’re off to a good start.
3. Add Sugar
Once the mixture cools slightly (not too hot, or it can affect the eggs), I stir in the sugar.At this stage, the batter becomes thick and shiny almost like a rich chocolate ganache.
4. Add Eggs (One at a Time)
This step is key.I add the eggs one at a time, whisking well after each addition. The batter will loosen slightly and become smooth and silky.Since there’s no flour in this recipe, the eggs are what give the cake its structure so don’t rush this part.
5. Add Flavor and Depth
Next, I mix in:
- Vanilla extract
- Cocoa powder
- Salt
The cocoa powder deepens the chocolate flavor even more, while the salt enhances everything beautifully.At this point, the batter looks rich, thick, and honestly very hard to resist.
6. Bake to Perfection
I pour the batter into the prepared pan and smooth out the top.Then I bake it for 20 to 25 minutes.Here’s the trick:
The center should still be slightly soft when you take it out. That’s what gives you that signature fudgy texture.If you overbake it, you’ll lose that magic.
7. Cool Completely (Don’t Skip This!)
This might be the hardest part but it’s essential.I let the cake cool completely in the pan before removing it. As it cools, it firms up and develops that perfect dense, fudgy consistency.If you try to cut it too early, it can fall apart.
My Top Tips (From Experience)
After making this cake many times, here are the tips I always follow:
1. Use high quality chocolate:This is non negotiable if you want the best flavor.
2. Don’t overbake:A slightly soft center = rich, fudgy perfection.
3. Let it cool fully:The texture improves as it sets patience really pays off here.
4. Room temperature eggs matter:They blend more smoothly and help create a better texture.
Serving Ideas (Make It Feel Extra Special)
One of the things I love about this cake is how versatile it is when it comes to serving.
For a simple, everyday treat:
- Just dust it with powdered sugar
For something a bit more elevated:
- Add fresh strawberries or raspberries
- Serve with a dollop of whipped cream
And when I really want to make it feel like a special occasion:
- I pair it with a scoop of vanilla ice cream
- Maybe even a drizzle of chocolate sauce
It instantly turns into a restaurant style dessert.
Perfect for Special Moments (Especially Romantic Ones)
If I’m being honest, this cake has become one of my go to desserts for special evenings especially when I want something that feels a little romantic without being over the top.
There’s just something about a rich chocolate dessert, a cozy setting, and a quiet dinner that makes everything feel more meaningful.
It fits perfectly into that kind of atmosphere:
- Soft lighting
- Warm conversation
- A dessert worth slowing down for
It’s simple, but it creates a moment and that’s what really matters.
Storage & Make Ahead Tips
Can you make it ahead of time?
Absolutely and I actually recommend it. The flavor deepens overnight, making it even better the next day.
How to store it:
- Keep it in an airtight container
- Store in the fridge for up to 4 days
Before serving:
Let it come to room temperature for the best texture and flavour.
Final Thoughts
This Flourless Chocolate Cake is one of those recipes that reminds me why I love baking in the first place. It’s simple, honest, and incredibly satisfying.
You don’t need complicated techniques or fancy ingredients to create something that feels truly special. Just good chocolate, a few basics, and a little care.
Every time I make it, it feels like a small celebration of chocolate, of comfort, and of those quiet, meaningful moments we create around food.And if you try it once, don’t be surprised if it becomes one of your go to desserts too.
Frequently Asked Questions
Flourless Chocolate Cake
Rich, fudgy flourless chocolate cake made with simple ingredients naturally gluten free and perfect for an easy yet elegant dessert.
Ingredients
200g dark chocolate (use the best quality you can find)
1/2 cup (115g) unsalted butter
3/4 cup (150g) granulated sugar
3 large eggs (room temperature)
1 teaspoon vanilla extract
1/4 cup (25g) unsweetened cocoa powder
1/4 teaspoon salt
- Optional (but highly recommended for serving):
Powdered sugar
Fresh berries (strawberries or raspberries work beautifully)
Whipped cream
Directions
- Preheat oven to 180°C (350°F) and line an 8 inch cake pan.
- Melt chocolate and butter together until smooth.
- Stir in sugar, then add eggs one at a time, mixing well.
- Mix in vanilla, cocoa powder, and salt until smooth.
- Pour batter into pan and bake for 20 to 25 minutes.
- Let cool completely before removing and serving.
Recipe Video
Notes
- Use High Quality Chocolate: Better chocolate gives a deeper, richer flavour and makes a noticeable difference in the final taste.
Don’t Overbake: Slightly underbaking keeps the center soft and fudgy instead of dry and cakey.
Cool Completely: Letting the cake cool fully helps it firm up and develop that perfect dense texture.