Chocolate Peanut Butter Cake
Chocolate and peanut butter is one of those timeless flavor combinations that never fails to impress. Whenever I think about desserts that feel comforting, indulgent, and a little bit special at the same time, this Chocolate Peanut Butter Cake always comes to mind. It’s the kind of cake that brings people together whether it’s a birthday, a weekend treat, or just a moment when you want to bake something memorable at home.
What I personally love about this cake is how it feels both homemade and bakery quality at the same time. The chocolate layers are soft, moist, and deeply rich, while the peanut butter filling adds a creamy, slightly salty contrast that balances everything beautifully. And when it’s all covered in smooth chocolate frosting, every bite becomes a full experience rather than just a dessert.
If you enjoy baking cakes that feel like a celebration on their own, this recipe is exactly that. It’s not overly complicated, but it delivers a result that looks impressive and tastes unforgettable. Let’s go through it step by step in a way that makes your baking experience easy, enjoyable, and successful.
Why This Chocolate Peanut Butter Cake Feels So Special
When I first started experimenting with chocolate cakes, I realized something important: a great cake is not just about sweetness. It’s about balance, texture, and that emotional satisfaction you get from the first bite. This cake checks all those boxes.
The chocolate sponge is soft and moist because of the perfect combination of oil, milk, and hot coffee (or water). The peanut butter layer brings richness and creaminess, almost like a dessert frosting on its own. And the chocolate coating ties everything together with a smooth, velvety finish.
This is the kind of cake that doesn’t just sit on the table it becomes the center of attention. People don’t just eat it, they remember it.
Ingredients That Create the Perfect Balance
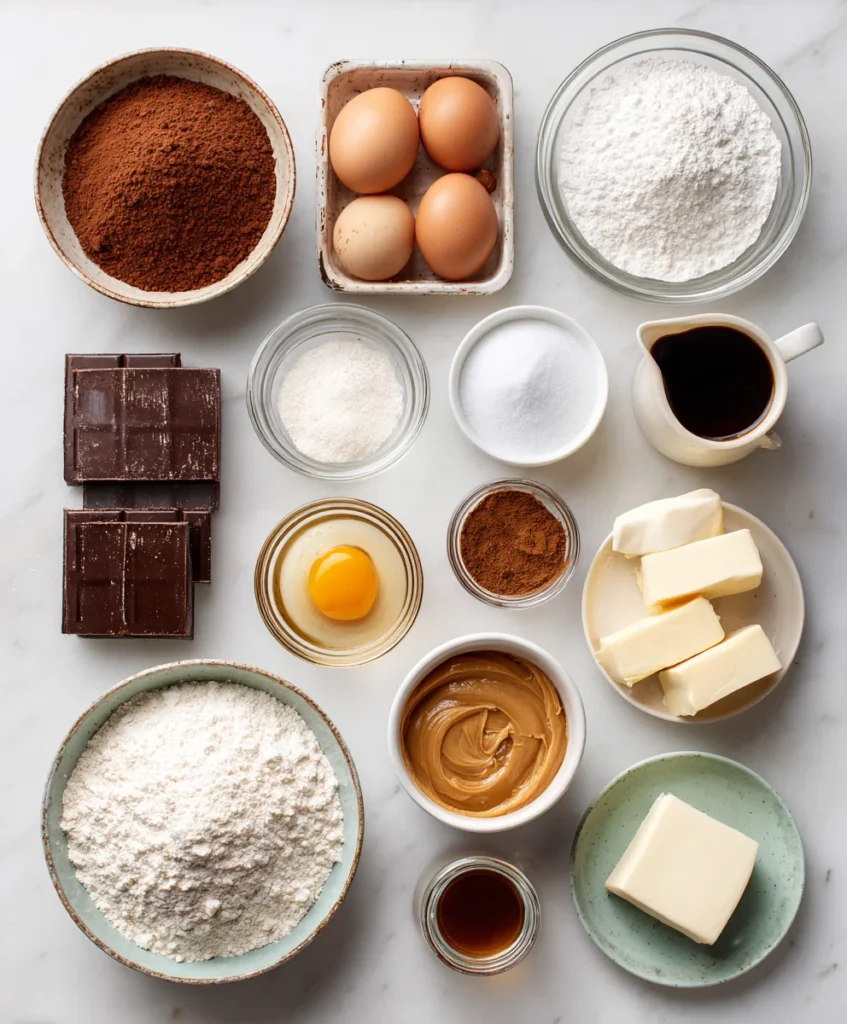
Before we start baking, it’s important to understand that each ingredient in this recipe plays a role in building flavor and texture.
For the Chocolate Cake Layers
- 1 and ¾ cups all purpose flour
- ¾ cup unsweetened cocoa powder
- 2 cups granulated sugar
- 1 and ½ tsp baking powder
- 1 and ½ tsp baking soda
- 1 tsp salt
- 2 large eggs (room temperature)
- 1 cup milk
- ½ cup vegetable oil
- 2 tsp vanilla extract
- 1 cup hot coffee or hot water (coffee enhances chocolate depth beautifully)
For the Creamy Peanut Butter Filling
- 1 cup creamy peanut butter
- ½ cup unsalted butter (softened)
- 1 to 1½ cups powdered sugar (adjust sweetness to taste)
- 2–3 tbsp milk (for smooth consistency)
- 1 tsp vanilla extract
For the Chocolate Frosting
- 1 cup unsalted butter (softened)
- ¾ cup cocoa powder
- 3 cups powdered sugar
- ½ cup heavy cream or milk
- 1 tsp vanilla extract
- A pinch of salt
Step by Step Method (Baking with Confidence)
1. Preparing the Chocolate Cake Batter
When I prepare this batter, I always start with dry ingredients because it ensures everything is evenly distributed. In a large mixing bowl, whisk together flour, cocoa powder, sugar, baking powder, baking soda, and salt.
Once the dry mixture is well combined, add eggs, milk, oil, and vanilla extract. Mix everything until it starts forming a smooth batter. At this stage, it already smells like chocolate heaven.
Now comes the most important step the hot coffee or hot water. Slowly pour it in while mixing. Don’t worry if the batter looks thin; that is exactly what creates that soft, moist texture after baking.
This step is where the magic begins, because the hot liquid intensifies the cocoa flavor and makes the cake taste richer than a standard chocolate cake.
2. Baking the Cake Layers to Perfection
Divide the batter evenly into greased cake pans. I usually use two 8-inch pans because it gives a nice layered structure.Bake in a preheated oven at 180°C (350°F) for about 30 to 35 minutes. The smell that fills your kitchen during baking is honestly one of the best parts of this recipe.
To check doneness, insert a toothpick in the center. If it comes out clean or with a few moist crumbs, your cake is ready.Now here’s something important that many people rush: cooling. Let the cakes cool completely before assembling. If you try to frost them while warm, everything will melt and the structure won’t hold properly.
3. Making the Creamy Peanut Butter Filling
This layer is what makes the cake truly stand out.In a bowl, beat the peanut butter and softened butter together until smooth and fluffy. This step creates a light texture instead of a dense paste.
Gradually add powdered sugar and continue mixing. Adjust sweetness according to your preference because peanut butter already has a natural richness.
Add vanilla extract and a little milk to achieve a soft, spreadable consistency. The filling should be creamy enough to spread easily but thick enough to hold its shape between layers.When I taste this filling on its own, it already feels like a dessert.
4. Preparing the Chocolate Frosting
The frosting is what gives the cake its final luxurious look.Start by beating butter until it becomes light and fluffy. Then add cocoa powder and mix well. Gradually add powdered sugar so the texture stays smooth.
Pour in cream or milk slowly and continue mixing until you get a silky, spreadable frosting. Add vanilla extract and a pinch of salt to enhance flavor depth.The result should be rich, smooth, and glossy perfect for coating the cake.
5. Assembling the Cake Like a Bakery Dessert
Now comes the most satisfying part.Place the first cake layer on your serving plate. Spread a generous layer of peanut butter filling evenly across the surface. Don’t rush this step this layer is what gives the cake its signature taste.
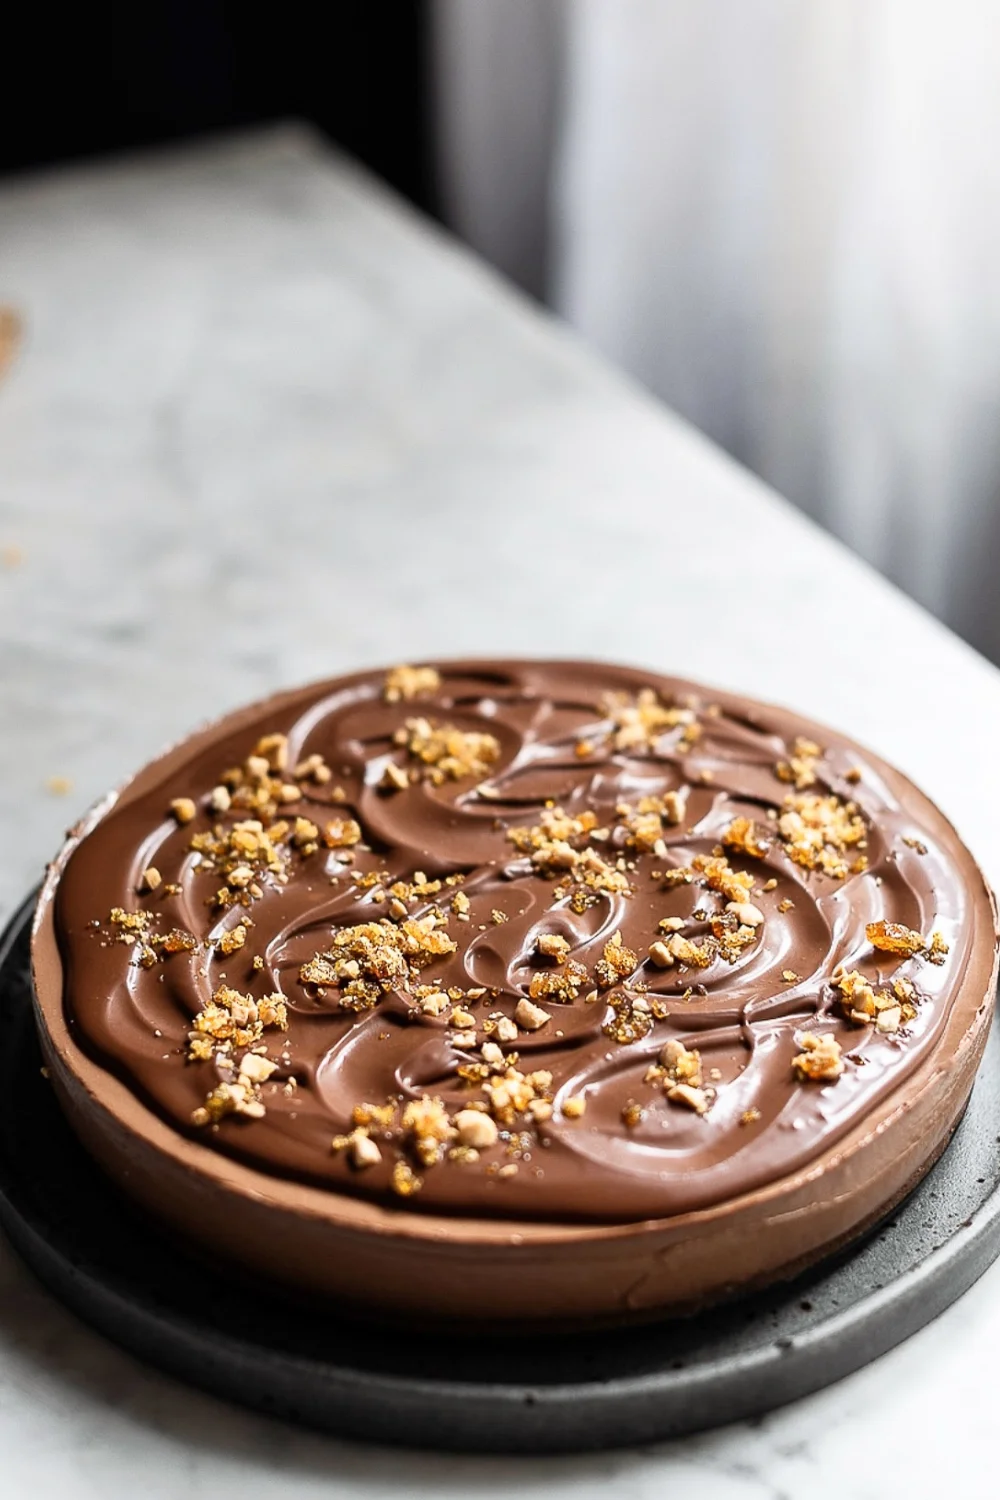
Add the second cake layer on top and gently press it down.Now cover the entire cake with chocolate frosting. I like to start from the top and slowly move down the sides for an even finish.
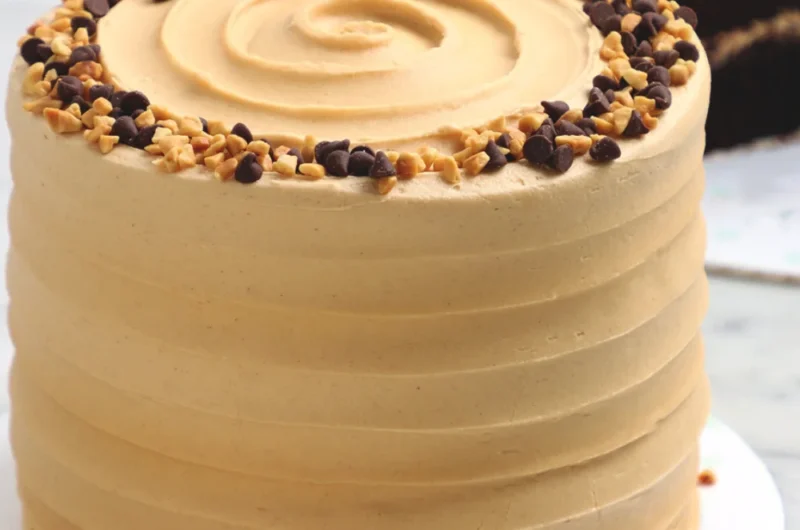
If you want a more decorative look, you can create swirls using a spatula or add a drizzle of melted chocolate on top.
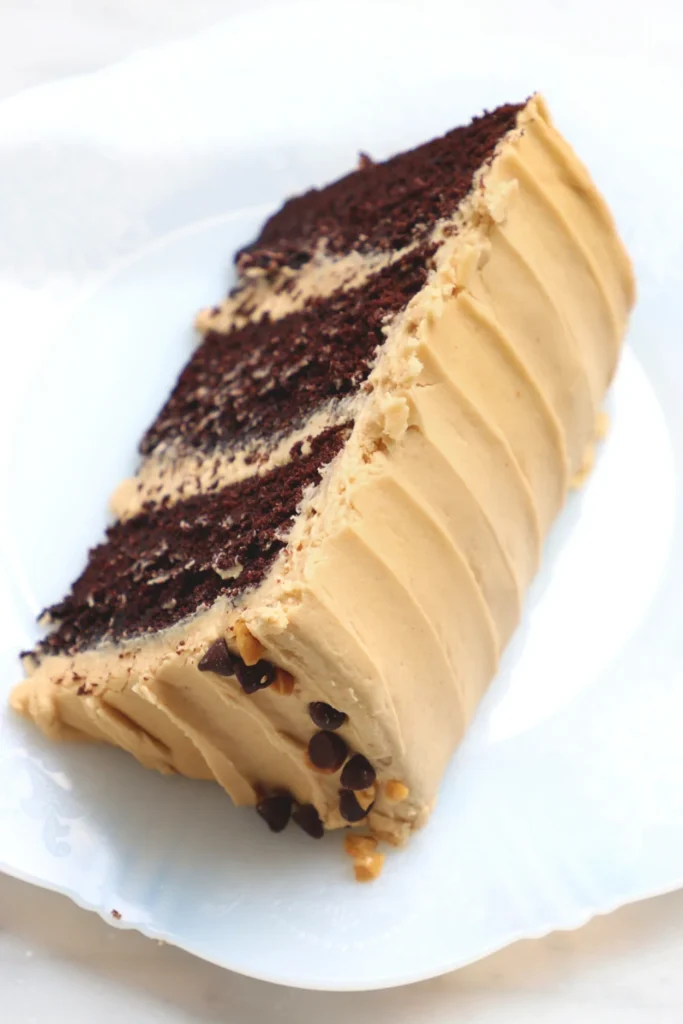
6. Chilling and Setting the Cake
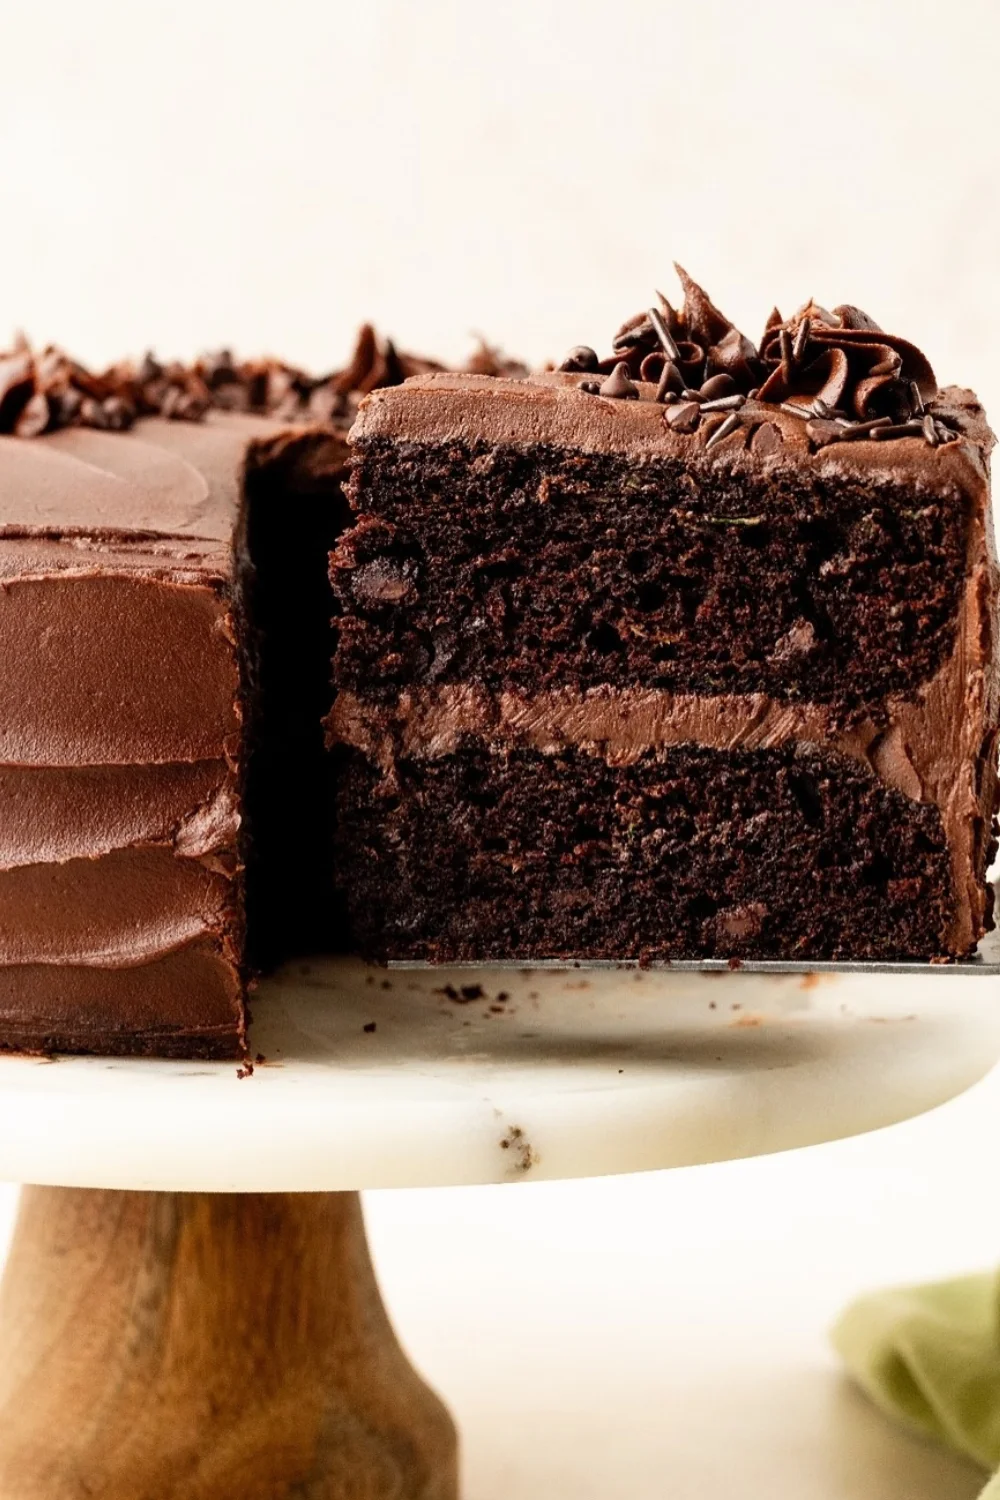
Once assembled, refrigerate the cake for at least 30 to 60 minutes. This helps everything set properly and makes slicing much easier.When you cut into it, you’ll see clean layers of chocolate and peanut butter that look as good as they taste.
My Personal Tips for the Best Results
Over time, I’ve learned a few small details that make a big difference in this recipe:
- Using hot coffee instead of water deepens the chocolate flavor without making it taste like coffee.
- Always let the cake cool completely before frosting to avoid melting layers.
- Don’t overmix the batter once liquids are added just mix until combined for a soft texture.
- Use creamy peanut butter for a smooth, bakery style filling.
These small steps are what elevate a simple homemade cake into something truly special.
Serving Ideas That Make It Even More Special
This cake already feels indulgent, but I love serving it in a way that enhances the experience:
- With a scoop of vanilla ice cream for contrast
- A drizzle of warm chocolate sauce for extra richness
- A glass of cold milk for a classic pairing
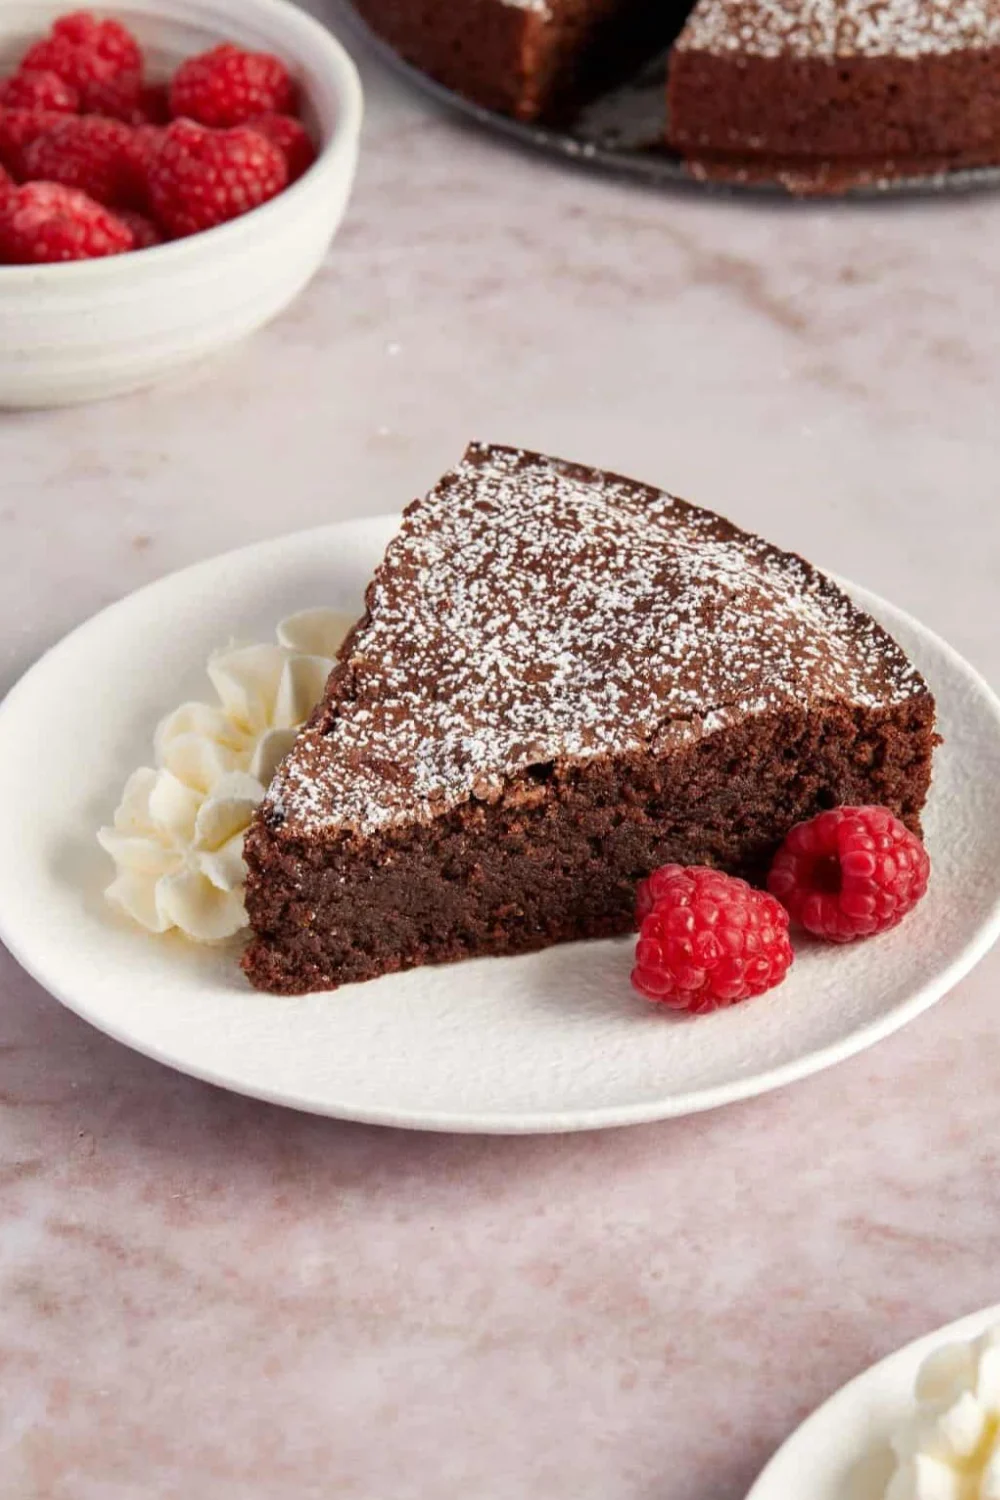
- Or even fresh berries to balance the sweetness
Each option brings a slightly different experience, but all of them complement the cake beautifully.
Final Thoughts
This Chocolate Peanut Butter Cake is more than just a dessert it’s a full experience of comfort, indulgence, and celebration. Every layer has its own personality, and when they come together, the result is something truly unforgettable.
Whenever I bake this cake, it feels like I’m creating a moment rather than just a recipe. It’s perfect for sharing, perfect for celebrations, and perfect for anyone who loves the classic combination of chocolate and peanut butter.
If you’re looking for a cake that impresses without being overly complicated, this one deserves a place in your recipe collection.
Frequently Asked Questions
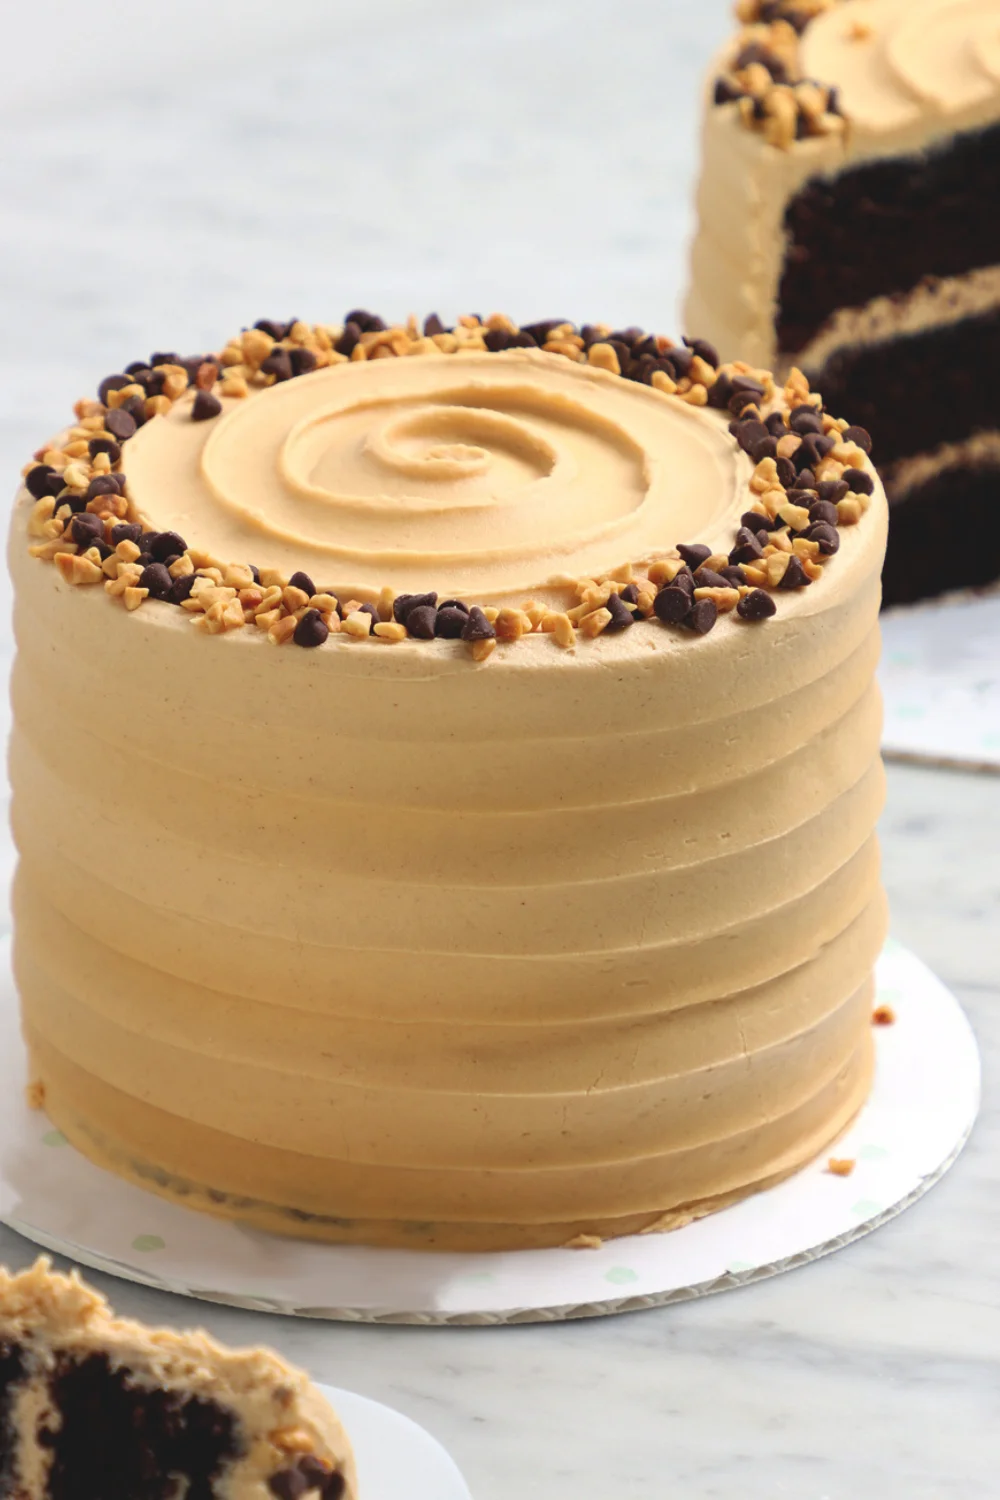
Chocolate Peanut Butter Cake
This Chocolate Peanut Butter Cake is a rich, moist, and indulgent layered cake made with deep chocolate sponge, creamy peanut butter filling, and smooth chocolate frosting. It’s the perfect dessert for celebrations, birthdays, or anytime you want a bakery style treat at home with a classic chocolate and peanut butter combination.
Ingredients
- Chocolate Cake:
1 ¾ cups all purpose flour
¾ cup cocoa powder
2 cups sugar
1 ½ tsp baking powder
1 ½ tsp baking soda
1 tsp salt
2 eggs
1 cup milk
½ cup oil
2 tsp vanilla extract
1 cup hot coffee or hot water
- Peanut Butter Filling:
1 cup creamy peanut butter
½ cup butter (softened)
1 to 1½ cups powdered sugar
2 to 3 tbsp milk
1 tsp vanilla
- Chocolate Frosting:
1 cup butter (softened)
¾ cup cocoa powder
3 cups powdered sugar
½ cup cream or milk
1 tsp vanilla
Pinch of salt
Directions
- Preheat oven to 180°C (350°F) and prepare cake pans.
- Mix dry ingredients in a bowl (flour, cocoa, sugar, baking powder, baking soda, salt).
- Add eggs, milk, oil, and vanilla; mix until smooth.
- Slowly add hot coffee/water and mix until batter is thin and combined.
- Pour into pans and bake for 30 to 35 minutes. Let cool completely.
- Beat peanut butter, butter, sugar, vanilla, and milk until smooth and fluffy.
- Prepare chocolate frosting by beating butter, cocoa, sugar, cream, vanilla, and salt.
- Layer cake with peanut butter filling, stack, and frost with chocolate icing.
- Chill for 30 to 60 minutes before slicing and serving.
Recipe Video
Notes
- Use hot coffee instead of water to enhance the chocolate flavor without making it taste like coffee: Coffee deepens the cocoa taste and makes the chocolate richer and more intense without adding any noticeable coffee flavor.
Always cool the cake completely before frosting to keep layers stable and neat: Cooling prevents the frosting from melting and helps the cake layers stay firm, clean, and perfectly stacked.
Beat peanut butter and butter well to get a smooth, creamy, bakery style filling: Proper mixing makes the filling light, fluffy, and silky so it spreads evenly and gives a professional bakery finish.