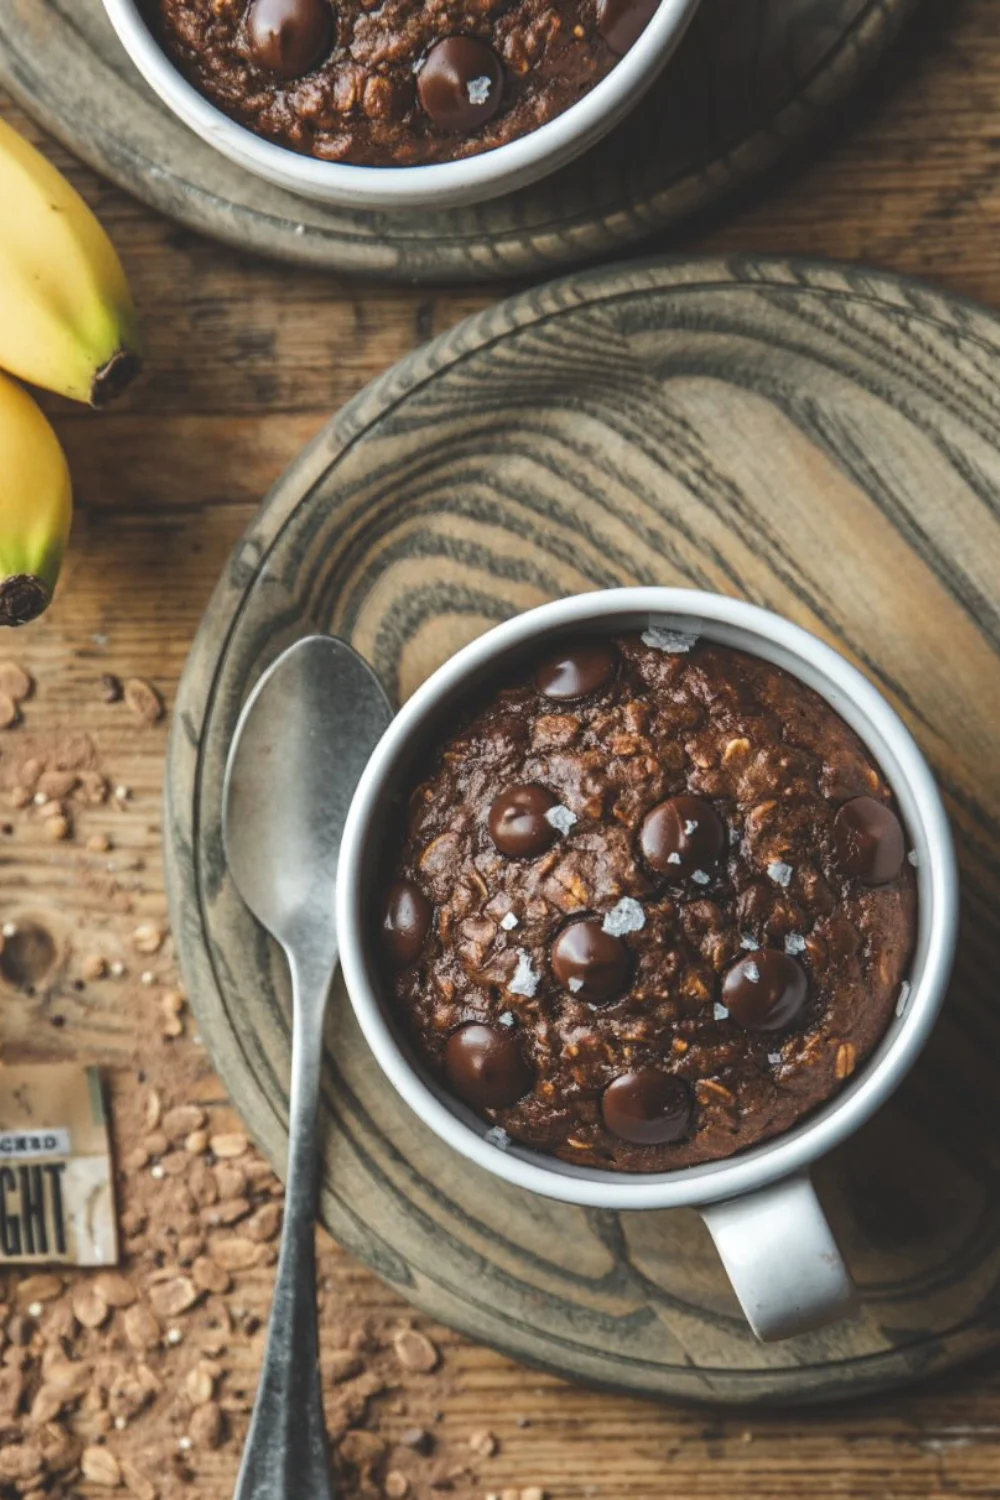
Chocolate Banana Cake
There’s something incredibly special about desserts that don’t just taste good but feel meaningful. When I think about the perfect treat to bake for someone I care about, this Chocolate Banana Cake always comes to mind. It’s rich, soft, deeply chocolatey, and naturally sweetened with ripe bananas in a way that feels both indulgent and comforting at the same time.
For me, baking this cake isn’t just about following a recipe it’s about creating a moment. I imagine a quiet kitchen, soft light coming through the window, the gentle sound of whisking, and that unmistakable aroma of chocolate filling the air as the cake bakes. It’s the kind of dessert that turns an ordinary day into something memorable.
Whether you’re baking for a special occasion, a cozy evening at home, or simply to use up those overripe bananas sitting on your counter, this recipe has never let me down. And the best part? It looks impressive, tastes incredible, and is surprisingly easy to make.
Why This Cake Feels So Special to Me
What I love most about this cake is the balance. Chocolate on its own can sometimes feel heavy, but when combined with ripe bananas, it transforms into something softer, lighter, and more layered in flavor.
The bananas bring:
- Natural sweetness
- Moisture that keeps the cake soft for days
- A subtle fruity depth that complements cocoa beautifully
And the chocolate? It adds that rich, slightly indulgent touch that makes every bite feel like a treat.This is one of those recipes I come back to again and again because it’s reliable, comforting, and always gets the kind of reaction that makes baking feel worth it.
Ingredients You’ll Need

I like to keep things simple and accessible, using ingredients that are usually already in the kitchen.
Dry Ingredients
- 1 ½ cups all purpose flour
- ½ cup unsweetened cocoa powder
- 1 teaspoon baking soda
- ½ teaspoon baking powder
- ¼ teaspoon salt
Wet Ingredients
- 3 ripe bananas (the darker, the better)
- ¾ cup granulated sugar
- ½ cup brown sugar
- ½ cup vegetable oil (or melted butter if you prefer a richer taste)
- 2 large eggs
- 1 teaspoon vanilla extract
- ½ cup milk (room temperature)
Optional Add ins (Highly Recommended)
- ½ cup chocolate chips
- ¼ cup chopped walnuts or almonds
Step by Step: How I Make It
Step 1: Preparing the Base
I always start by preheating my oven to 180°C (350°F) and preparing an 8 inch cake pan. A light greasing and parchment paper lining make a huge difference when it comes to easy removal later.
Step 2: Mash the Bananas
This is where the magic begins. I mash the bananas in a large bowl until smooth. I don’t worry about making them perfectly lump free a little texture actually adds character to the cake.
Step 3: Mixing the Wet Ingredients
To the mashed bananas, I add:
- Both sugars
- Oil
- Eggs
- Vanilla extract
Then I whisk everything together until it becomes smooth and slightly creamy. At this stage, the mixture already smells incredible sweet, warm, and inviting.
Step 4: Sifting the Dry Ingredients
In a separate bowl, I sift together the flour, cocoa powder, baking soda, baking powder, and salt.I never skip sifting it prevents lumps and helps create a lighter, more even texture in the final cake.
Step 5: Combining Everything
I gradually add the dry ingredients into the wet mixture, alternating with milk.This is one of the most important steps:
I mix gently, just until everything is combined. Overmixing can make the cake dense, and I always aim for that soft, tender crumb.
Step 6: Adding the Extras
If I’m feeling a little indulgent (which is most of the time), I fold in chocolate chips or chopped nuts. These little additions take the texture to another level.
Step 7: Baking
I pour the batter into the prepared pan and bake for 30 to 35 minutes.Around the 30 minute mark, I start checking with a toothpick. If it comes out clean or with a few moist crumbs, it’s ready.
Step 8: Cooling
Once out of the oven, I let the cake rest in the pan for about 10 minutes before transferring it to a wire rack.This waiting step might feel small, but it really helps the structure set properly.
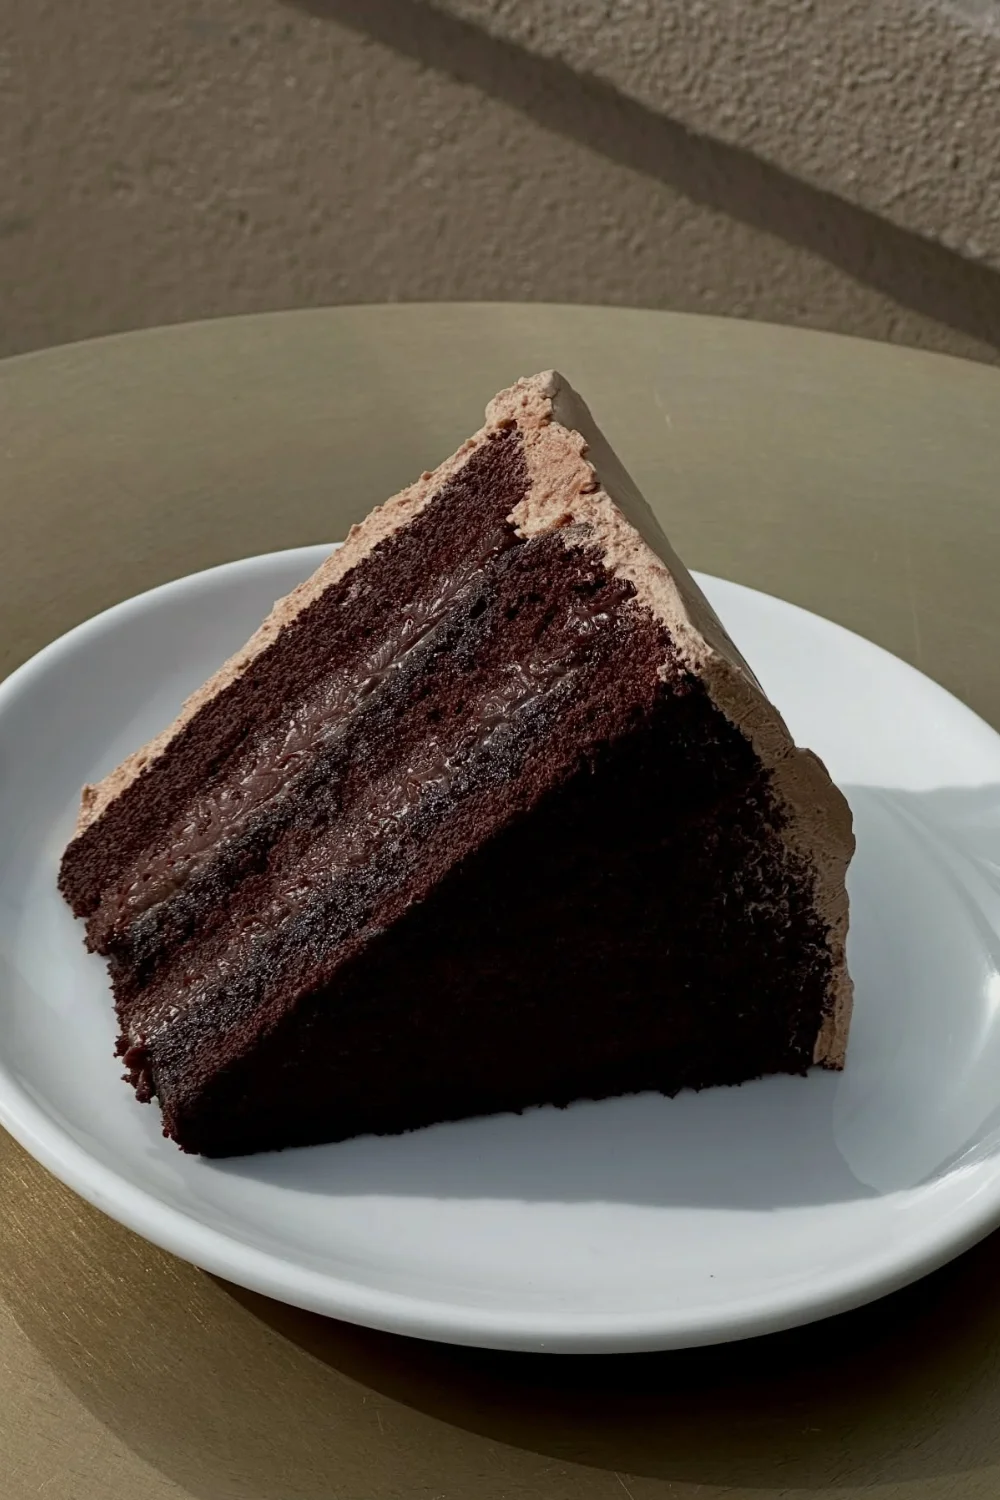
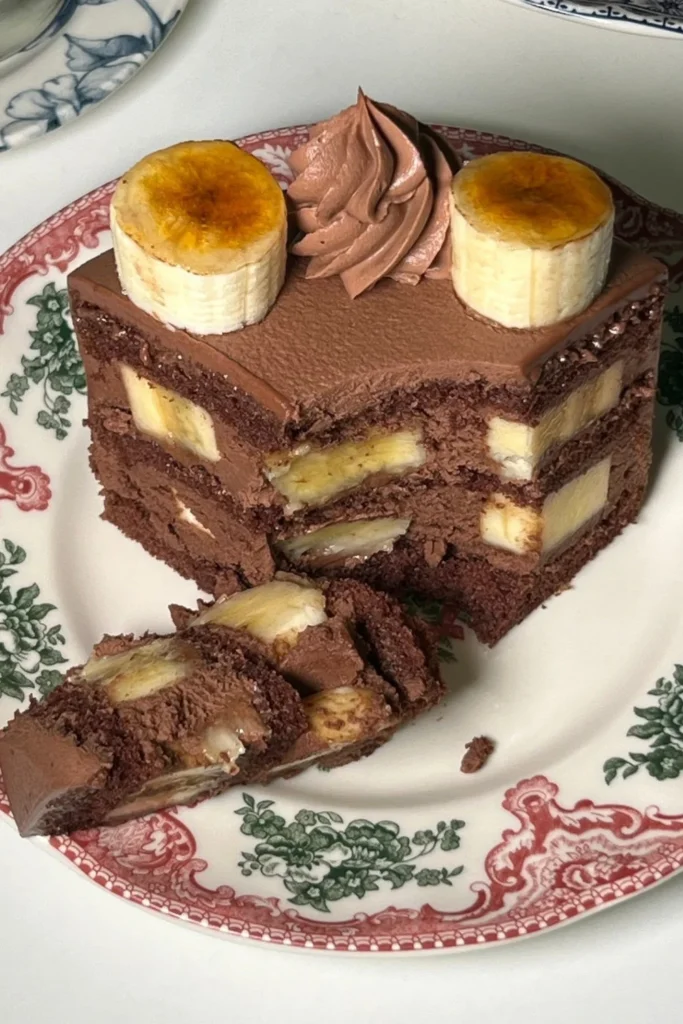
Texture & Flavour
Every time I slice into this cake, I look for three things:
- A soft, moist crumb
- A deep chocolate aroma
- Just a hint of banana in the background
It’s not overpoweringly banana flavored it’s more like the bananas quietly enhance everything else.
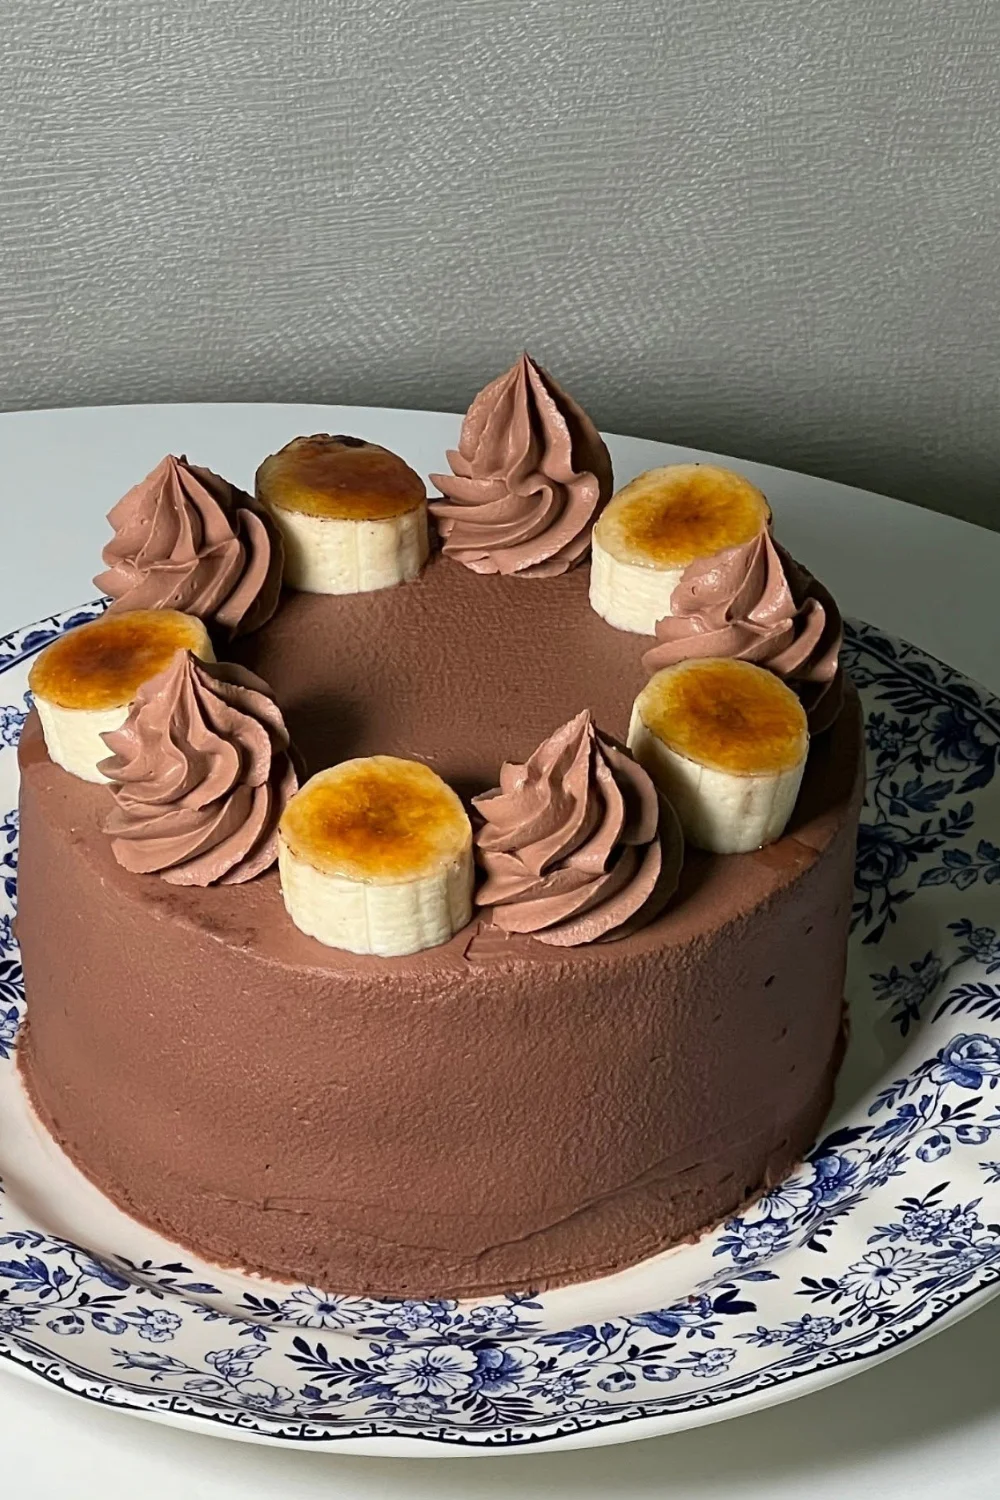
Optional Chocolate Frosting (For Extra Indulgence)
Sometimes I keep the cake simple, but when I want something more dessert like, I add a smooth chocolate frosting.
Ingredients:
- ½ cup softened butter
- 1 ½ cups powdered sugar
- ¼ cup cocoa powder
- 2 to 3 tablespoons milk
- 1 teaspoon vanilla
Method:
I beat everything together until light and fluffy, then spread it generously over the cooled cake.It instantly transforms the cake into something bakery worthy.
My Personal Tips
After making this cake countless times, these are the things I always pay attention to:
1. Use Very Ripe Bananas
The darker and softer they are, the better your cake will taste. They bring natural sweetness and moisture that you just can’t replicate.
2. Don’t Overmix the Batter
This is probably the most common mistake. Gentle mixing keeps the cake soft and tender.
3. Balance Your Cocoa
Too much cocoa can make the cake dry or slightly bitter. I always measure carefully.
4. Room Temperature Ingredients Matter
Cold eggs or milk can affect how smoothly everything blends together.
5. Let It Cool Properly
Cutting too early can make the cake crumbly. Patience really pays off here.
How I Love Serving This Cake
This cake fits into so many moments, which is why I love it so much.
- With a cup of tea in the evening
- Slightly warm with a scoop of vanilla ice cream
- As a simple dessert after dinner
- Even as a sweet breakfast treat (no judgment here!)
It’s one of those cakes that feels just as right dressed up as it does served plain.
Storage & Make Ahead Tips
If you have leftovers (which doesn’t happen often in my kitchen), here’s how I store it:
- Room temperature: Up to 3 days in an airtight container
- Refrigerator: Up to 5 days
- Freezer: Wrap slices individually and freeze for up to 2 months
When I want to enjoy it again, I just warm a slice in the microwave for a few seconds it tastes freshly baked all over again.
Variations I Sometimes Try
Once you’re comfortable with the base recipe, there’s so much room to experiment:
- Add a swirl of peanut butter for a nutty twist
- Use dark chocolate chunks instead of chips for a richer bite
- Replace half the flour with whole wheat for a slightly healthier version
- Add a pinch of cinnamon for warmth
Each variation brings something new while keeping the core of the cake intact.
Final Thoughts
For me, this Chocolate Banana Cake is more than just a recipe it’s something I rely on when I want to bake without overthinking. It’s simple, comforting, and consistently delivers that soft, rich texture that makes every bite satisfying.
It’s the kind of cake that doesn’t try too hard, yet always impresses. Whether I’m baking for guests or just for myself, it never fails to create that warm, cozy feeling that only homemade desserts can bring.
And honestly, once you make it and see how easy and rewarding it is, I’m pretty sure it’ll become a regular in your kitchen too.
Frequently Asked Questions
Chocolate Banana Cake
This Chocolate Banana Cake is soft, moist, and deeply chocolatey with the natural sweetness of ripe bananas. It’s an easy one bowl style cake that turns simple pantry ingredients into a rich, comforting dessert perfect for any occasion.
Ingredients
1 ½ cups all purpose flour
½ cup unsweetened cocoa powder
1 teaspoon baking soda
½ teaspoon baking powder
¼ teaspoon salt
3 ripe bananas (mashed)
¾ cup granulated sugar
½ cup brown sugar
½ cup vegetable oil (or melted butter)
2 large eggs
1 teaspoon vanilla extract
½ cup milk
½ cup chocolate chips (optional)
¼ cup chopped nuts (optional)
Directions
- Preheat oven to 180°C (350°F) and grease an 8-inch cake pan.
- Mash bananas in a bowl and mix with sugars, oil, eggs, and vanilla.
- In another bowl, sift flour, cocoa powder, baking soda, baking powder, and salt.
- Combine dry ingredients into wet mixture, alternating with milk. Mix gently.
- Fold in chocolate chips or nuts if using.
- Pour batter into prepared pan and bake for 30 to 35 minutes.
- Cool for 10 minutes, then transfer to a wire rack before serving.
Recipe Video
Notes
- Use ripe banana:Use very ripe bananas for natural sweetness and extra moisture.
Don’t overmix: the batter to keep the cake soft and fluffy.
Check the cake: A few minutes early to avoid overbaking.